The Good. Clean. Fun.™ BLOG
< All Posts
The beach waves hair trend is definitely having a moment, and not just because we’re ushering in another season of sea and sand. It’s a look that can bring sunshine into your day even if the sky is overcast. These waves fall between curls and straight tresses and suit nearly every circumstance — work or play. Another desirable aspect of this classic style is that it flatters several hair types, textures, cuts, face shapes, and ages.
While adding volume and movement to your hair may sound like a job for a pro, the reality is, anyone can easily achieve beach waves hair on their own! As proof positive, we’ve put together all the tips, tricks, tools, and products you need to pull off this timeless style — no salt water required.
Finding Your Beachy Wave Technique
Before diving into how to do beach waves, determine which method you will use. Consider the length, texture, current state of your hair’s health, and comfort level with hot tools.
Curling Iron Method
While there are lots of hot tools to choose from, a curling iron is the ideal option for easily achieving beach waves. It’s a bit more user-friendly than a styling wand, and there’s less of a learning curve if you’re new to the world of waves versus curls.
It all comes down to technique and choosing an iron with the correct-sized barrel based on the length of your hair and the desired result. For example, the smaller the barrel (think ¾-inch), the tighter the waves will be. Go larger with a one-inch size for classic beach waves and one and ¼-inch for a looser look. Use a small to medium-sized barrel if your hair is shorter. If your tresses are long, medium to large is more efficient.
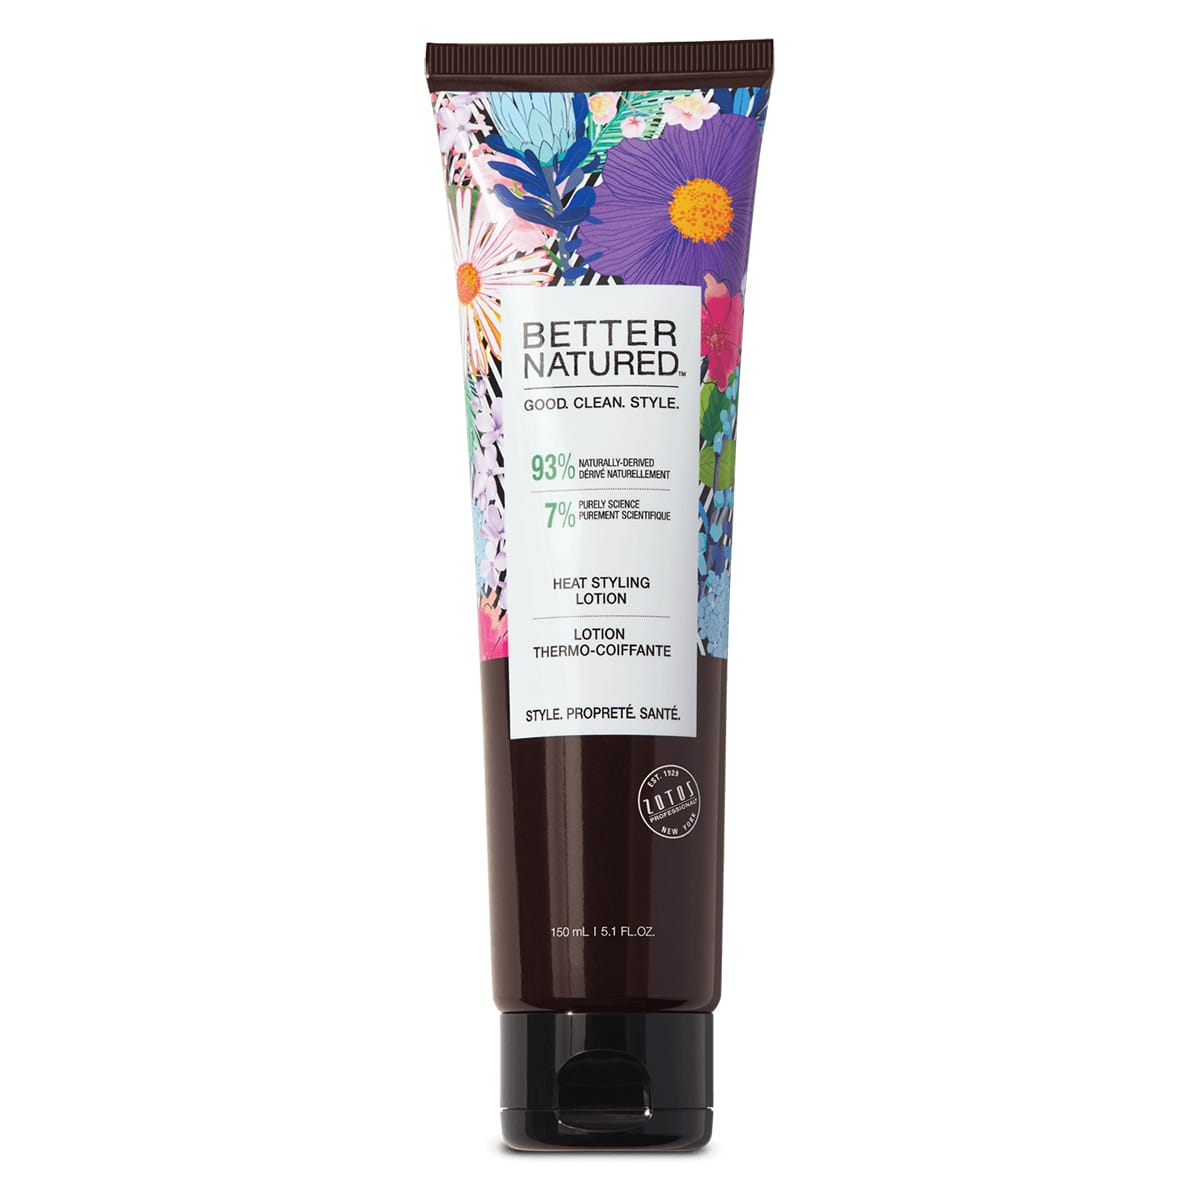
- After using the Better Natured® Shampoo and Conditioner of your choice, prep damp hair with Better Natured® Heat Styling Lotion. It protects hair during blow drying,* delivers 96 hours of frizz control, and preps strands for a soft, gorgeous finish that’s smooth, reshapable, and long-lasting — precisely what you need before styling beach waves!
*Against combing breakage during heat styling. - Divide your hair into a top and bottom section and then divide those sections in half and clip them into place. Make sure the hair is dried and combed out before moving on to the next step.
- Starting at the bottom and working your way to the top, unclip one section of hair at a time. Take horizontal sections, 1/2 to 1-inch thick, into the clamp and leave out an inch or two at the bottom – this differentiates beach waves from traditional waves or curls. Next, twist the iron away from your face. Ensure you’re holding your iron upright and the clamp always faces forward.
- Once you’ve reached your crown with the iron, hold that position for about three or four seconds before gently opening the clamp and pulling the iron straight down simultaneously to release the wave. Avoid touching your freshly styled strands until they are completely cool to prevent them from falling flat.
- Repeat this same process with the remaining sections of hair.
- Flip your head upside down and gently rake your fingers through your hair. Return to the starting position and adjust waves as desired. If needed, rub a few drops of Better Natured® Hydrating Leave-In Milk between your fingertips and apply to any frizzies or dry ends for a more finished look.
Flat Iron Method
Suppose you’re more of a flat iron user — no problem! As with curling irons, you will want to use a smaller iron for shorter hair and a larger one for longer tresses. All of the steps remain the same except for the waving process. There are a couple of ways you can go about it, depending on your skill level.
- Technique 1. Wrap and Slide: Clamp your flat iron plates around a horizontal section, 1/2 to 1-inch thick, of hair an inch or two from the roots and wrap it around the iron once in the direction away from your face. Hold in place for about three seconds before sliding the tool down, unclamping, rewrapping your hair, and repeating the process. Stop one to two inches before reaching your tips.
- Technique 2. Braid and Iron: If you can’t get the hang of the first method (or you’re pressed for time), make a braid out of each of the four sections you divided and secure with an elastic band, leaving out one to two inches at the bottom. Remember — the tighter the braid, the tighter the waves, and vice versa.

Featured: Better Natured® Heat Styling Lotion
Apply a dab of Better Natured® Heat Styling Lotion over each braid before going over the entire braid with a flat iron a few times. Wait until the braids are cool to take them out and tousle them to perfection. These wavy tresses may even be easier to achieve than packing up and hitting the beach!
The Heatless Method
Achieving beach waves hair without heat is also an option. It’s a good choice if your hair is natural, relaxed, dry, or damaged. It’s also an ideal option for those who shower at night because these curls work on damp hair while you’re catching up on your beauty sleep.
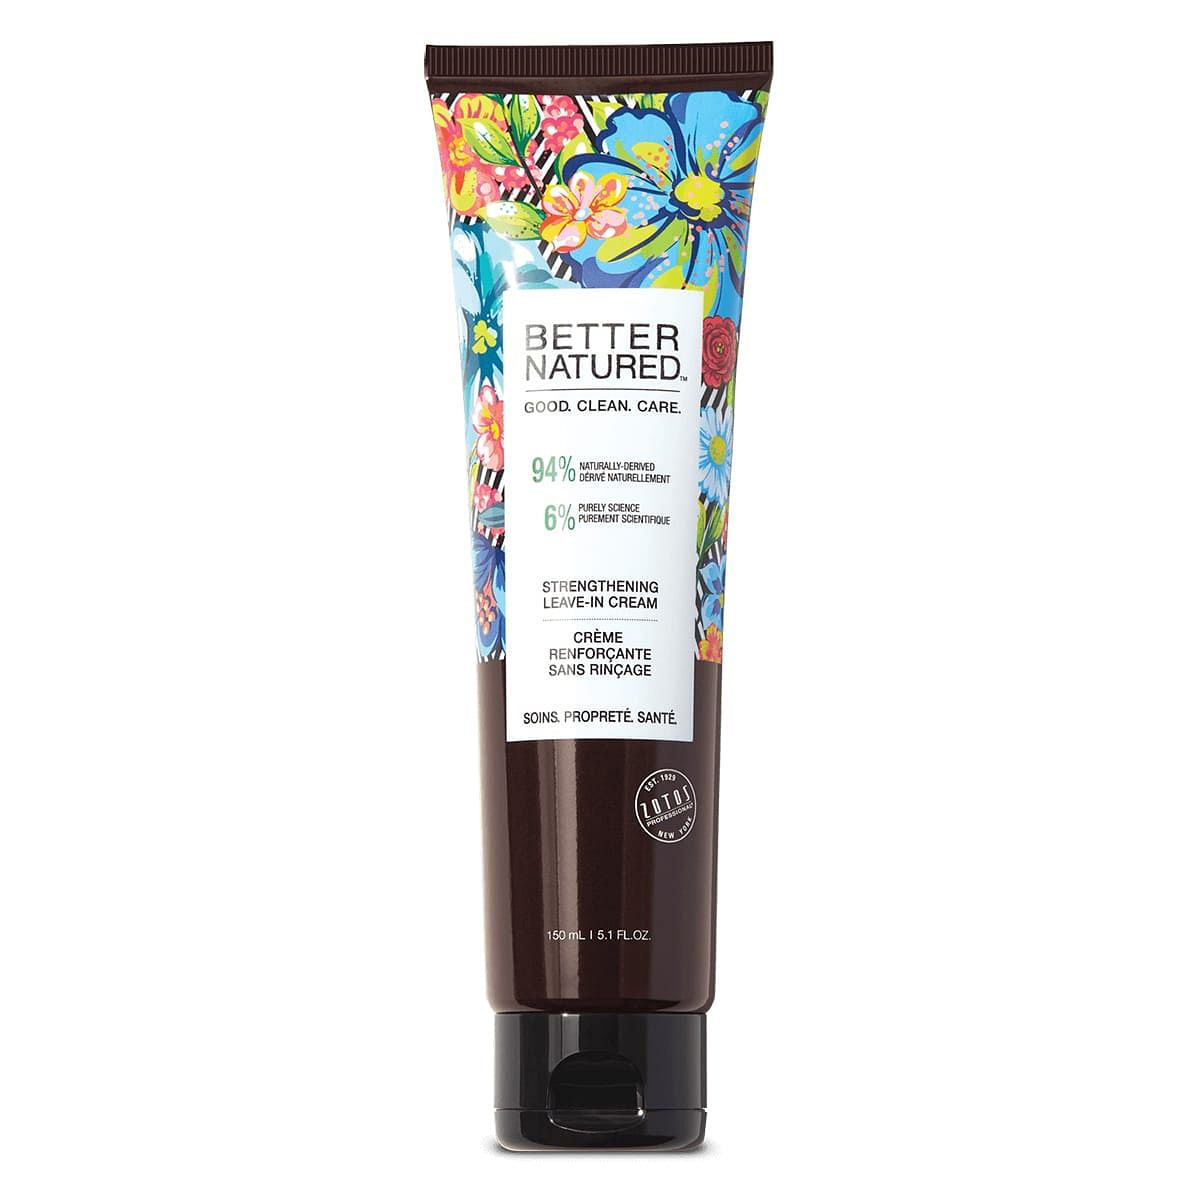
- Technique 1. Braids: Braids are an excellent option for all hair types but are particularly favorable for relaxed or natural hair. Hydration is the key to successful waves, so coat slightly damp tresses (80-85 percent dry) with Better Natured® Damage Repair Strengthen Leave-In Cream before braiding. This lightweight yet effective leave-in hair cream smooths and strengthens* hair while resisting frizz-inducing humidity for over 24 hours, meaning your beach waves will go the extra mile.
How many braids you need depends upon the length and thickness of your hair. Just make sure to section your hair before braiding so your beach waves are evenly distributed. In the morning, ensure your braids are completely dry before taking them out and finger styling and scrunching mid-lengths to ends to achieve your desired look.
*Against combing breakage on damaged hair vs. a non-conditioning shampoo.
- Technique 2. A Headband: This method is an excellent choice to accentuate your natural waves or add texture to lifeless locks. Again, you’ll want to start with hair that’s about 80 percent dry. Place an elastic headband on your head (around the top of the forehead and above the ears), much like a crown. Next, divide your tresses into achievable sections and loop each over and under the headband until you can tuck the ends in. Repeat this process with each section until all of the hair is wrapped.
Ensure your hair is thoroughly air-dried in the morning before carefully removing the headband allowing your beach waves to fall loose. Rake your fingers through your tresses to style.
- Technique 3. Sea Salt Spray: If you have naturally wavy hair and want to achieve achieve beach waves fast, it doesn’t get easier than spritzing on Better Natured® Beachy Texture Spray. The formula provides the same texture and volume of salt water without dipping your toe in the water. Simply mist onto damp hair to boost body. While Magnesium Sulfate (a type of salt) is the key magical ingredient, the addition of our signature Triple Plant Milk blend of Coconut, Tahitian Palm, and White Orchid provides conditioning results that are effective yet light enough to use on fine hair.
How to Make Beachy Wave Hair Last
Now that you’ve learned how to do beach waves, you probably want to know how to maintain your look! You can easily make your locks last a few days with a little extra care.

- Refresh your beach waves by applying Better Natured® Beachy Texture Spray to dry hair! Simply spritz and scrunch to revive your look and accentuate texture.
- Extend your waves with Better Natured® Fresh Dry Shampoo Powder, formulated to absorb oil between washes and boost the life of your style without leaving behind a chalky white residue. Shake before use and pump onto dry roots or anywhere needing a revival. Gently massage or pat powder into the hair using your fingertips, or brush in to blend away any visible powder.
- Consider investing in a silk pillowcase to safeguard your beachy waves from frizzies while keeping your tresses looking lustrous.
- Wrap your hair in a satin head scarf before hitting the sheets to preserve your waves and prevent frizz and tangles.
- No matter which method you initially used to achieve beach waves, you can always divide your hair into two sections and make loose braids before bed to prevent tangles and retain the shape. Spritz a little beach spray over your twists for added texture.
Anyone can achieve beach waves with the correct tools, techniques, and products! Which method will you choose?
Get Started by Shopping Better Natured®’s Vegan Styling Products!Image credits:
- Source: luxora/Shutterstock.com
- Look Studio/Shutterstock.com
Log in To comment.